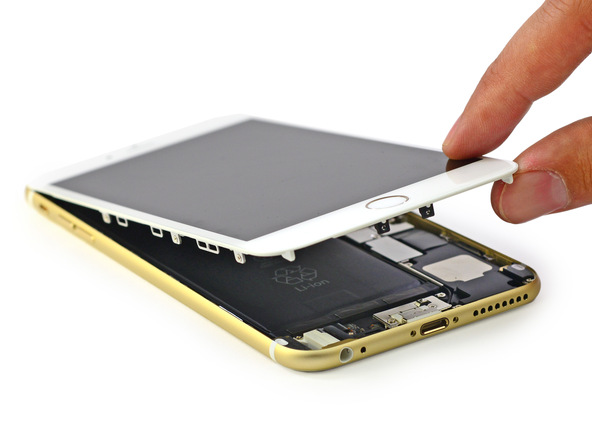
iPhone 6 plus teardown, you can find a lot of iphone6 plus repair parts there.
iphone 6 plus gold color
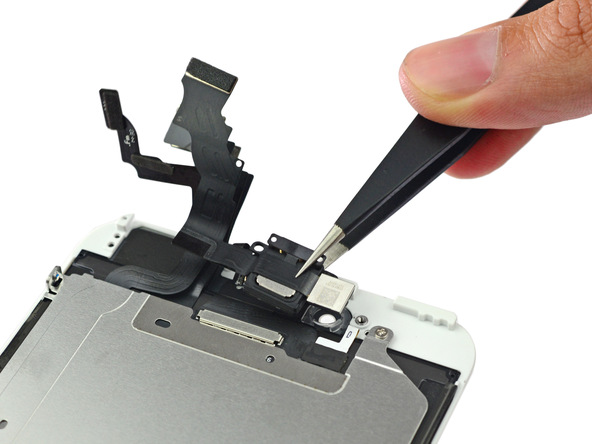

iphone 6 plus home button


iphone 6 plus
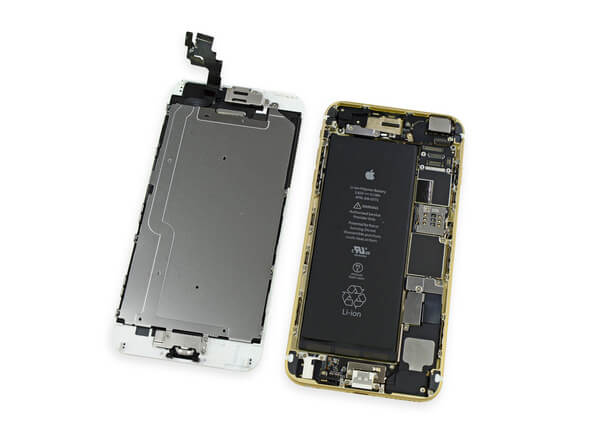
iphone 6 plus lcd
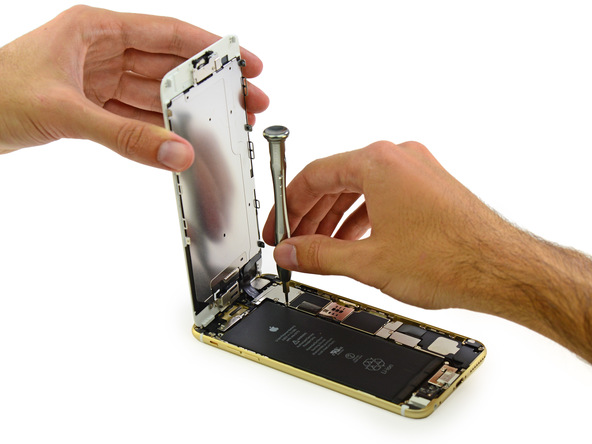

iPhone 6 plus teardown, you can find a lot of iphone6 plus repair parts there.
iphone 6 plus gold color
iphone 6 plus home button
iphone 6 plus
iphone 6 plus lcd
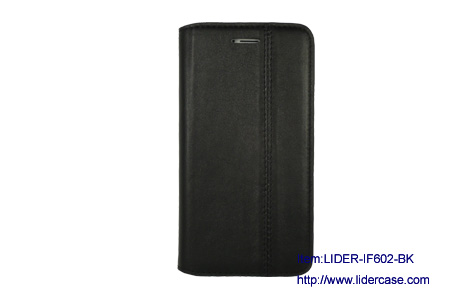
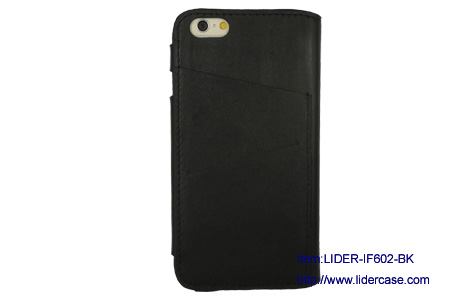
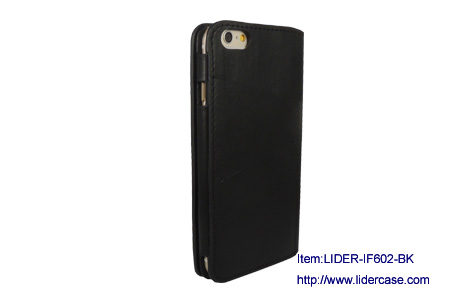
Watch our latest iPhone 6 cases now! Even we are doing the case with a draft dummy, you can still get the iPhone 6 leather cases. Below goes the details and please take a look.
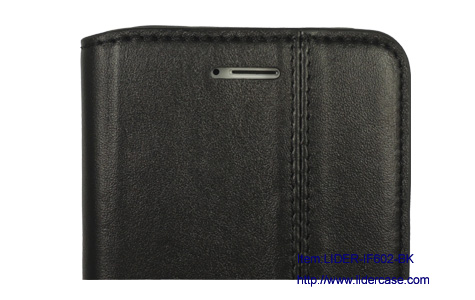
iPhone 6 leather case


What do you think the next generation of iphone? We could get some info now.
It is something as below?
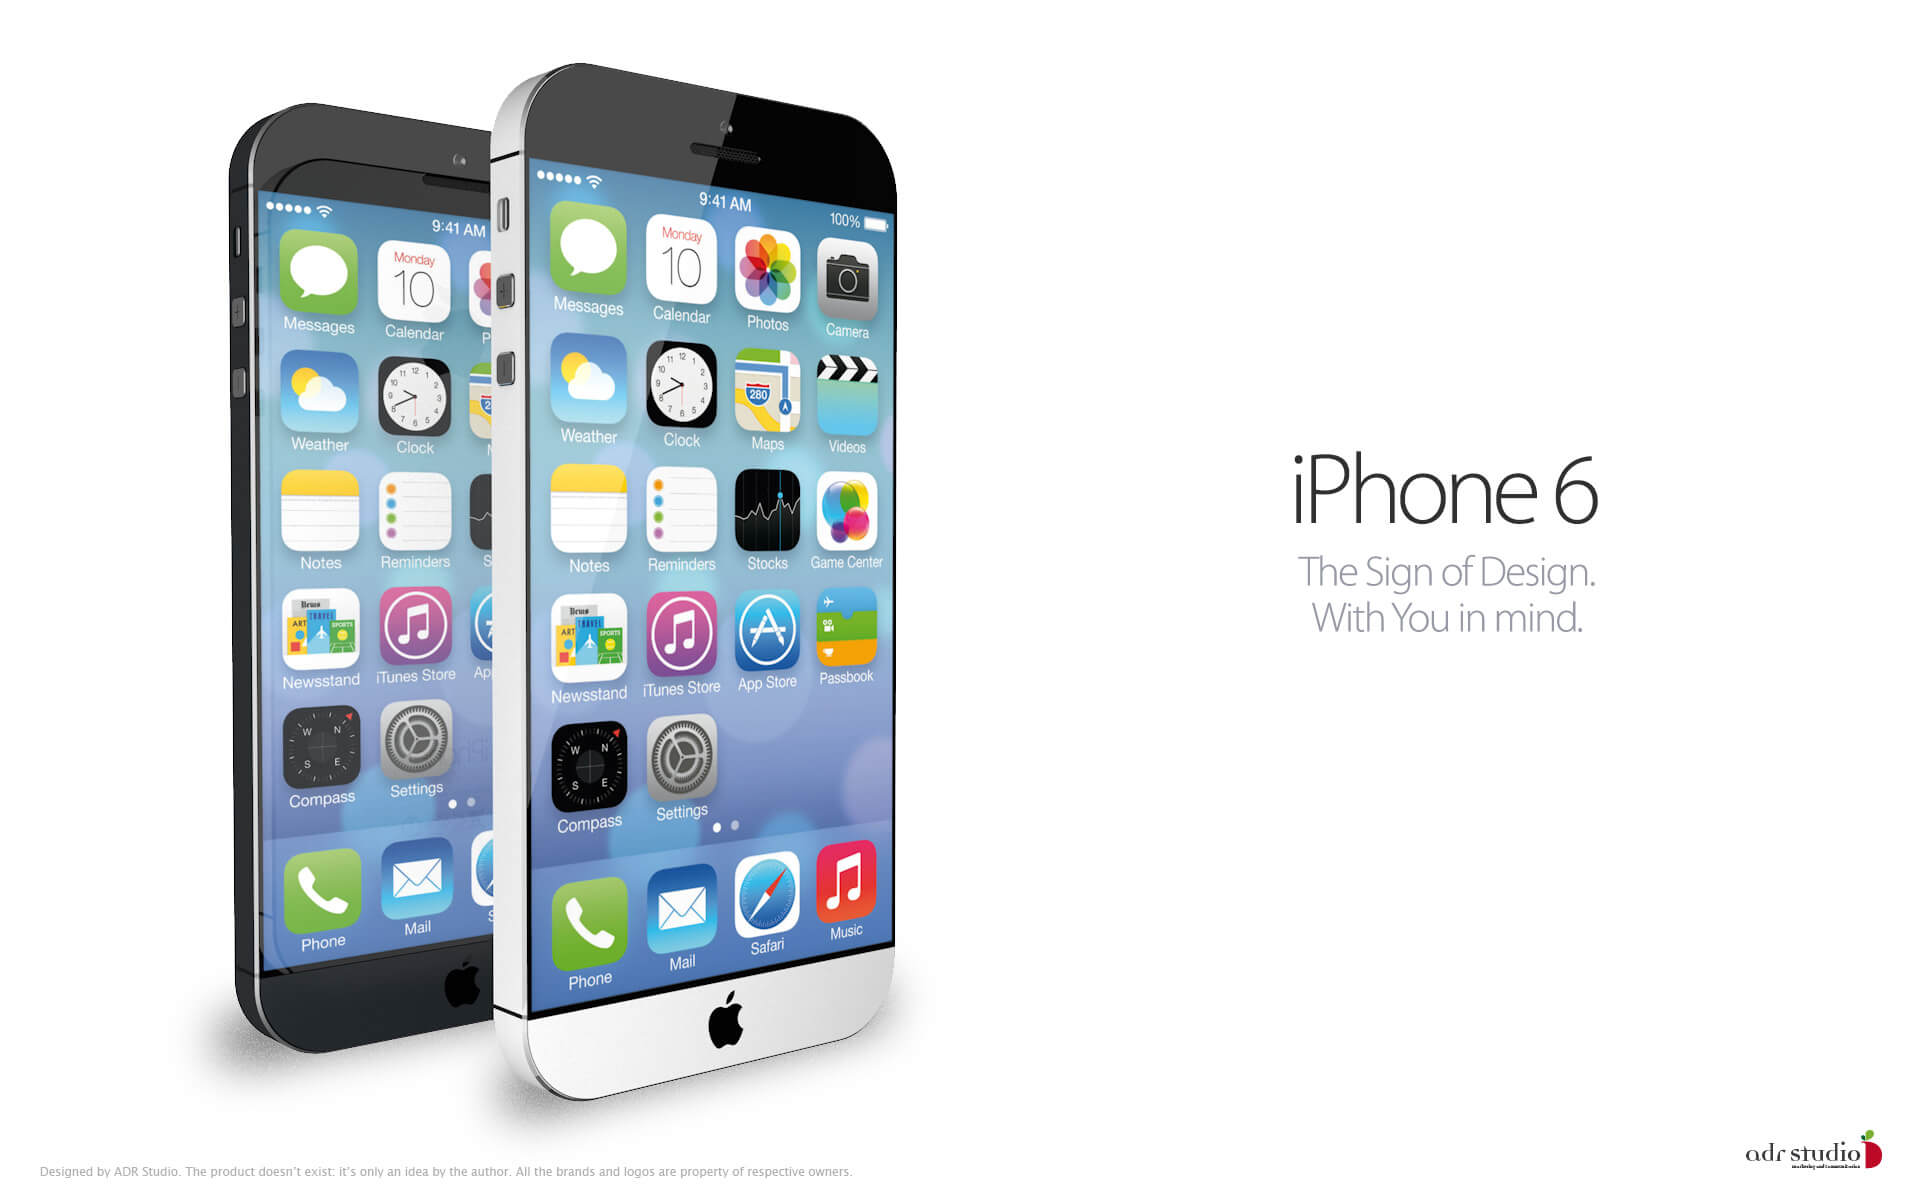
iPhone 6
Let us wait and see.
Most of us are crazy about using costly smart phone and when it comes to buy leather cases there are range of verities are available in the market that will give your smartphone more cute and give a new look that will help you increase your phone a professional look.
I would strongly recommend to buy leather made cases as it can protect your phone better way not only from outside but from inside as well. So what are the major factors that you should considered when buying covers for Samsung Galaxy S5.

Samsung Galaxy S5 case
Many case manufacturers all around the world are asking this question, as they scramble to have a case ready before the s5 is available on the shelves, that will be around 15 April 2014. There are many cases that will be accessible for the Galaxy S5 when it is available for sell. The cases that will be most thriving are those that have a focus on what customer need and how users use their Galaxy S5. Based on almost 20 years of mobile phone and accessory sales, there are three vital factors manufacturers must take note of when designing a leather cases for the Samsung Galaxy S5.
The three factors to deem in designing the best Samsung Galaxy S5 Leather Case are:
1) Protection
2) Style
3) Weight and Feel
The first factor is one of the most important the leather quality will take care of your precious device from all side and another good thing is it will also take care from water and scratches. Leather made cases will always take care of your devices from physical damage as well.
If you like a professional look than leather case is the only option so if you want a sophisticated look than leather case is the best option. I think there are range of cute iphone cases available in the market those are made from cheap plastic but that cannot give a protection to your device like leather.
The Samsung S5 is one of the lightest on the market for its size, weighing a mere 140 grams. With this fact in mind, the case should not add too much weight and be made from light quality leather. Using cow or kangaroo leather is extremely suggested.